
Solar System (wall hanging planets) Instructions
Included within this exhibit are 8 hemi-spherical planets that should be hung on a wall to represent the solar system. The exact installation of these will vary according to location, but a suggested layout is shown here.
Background
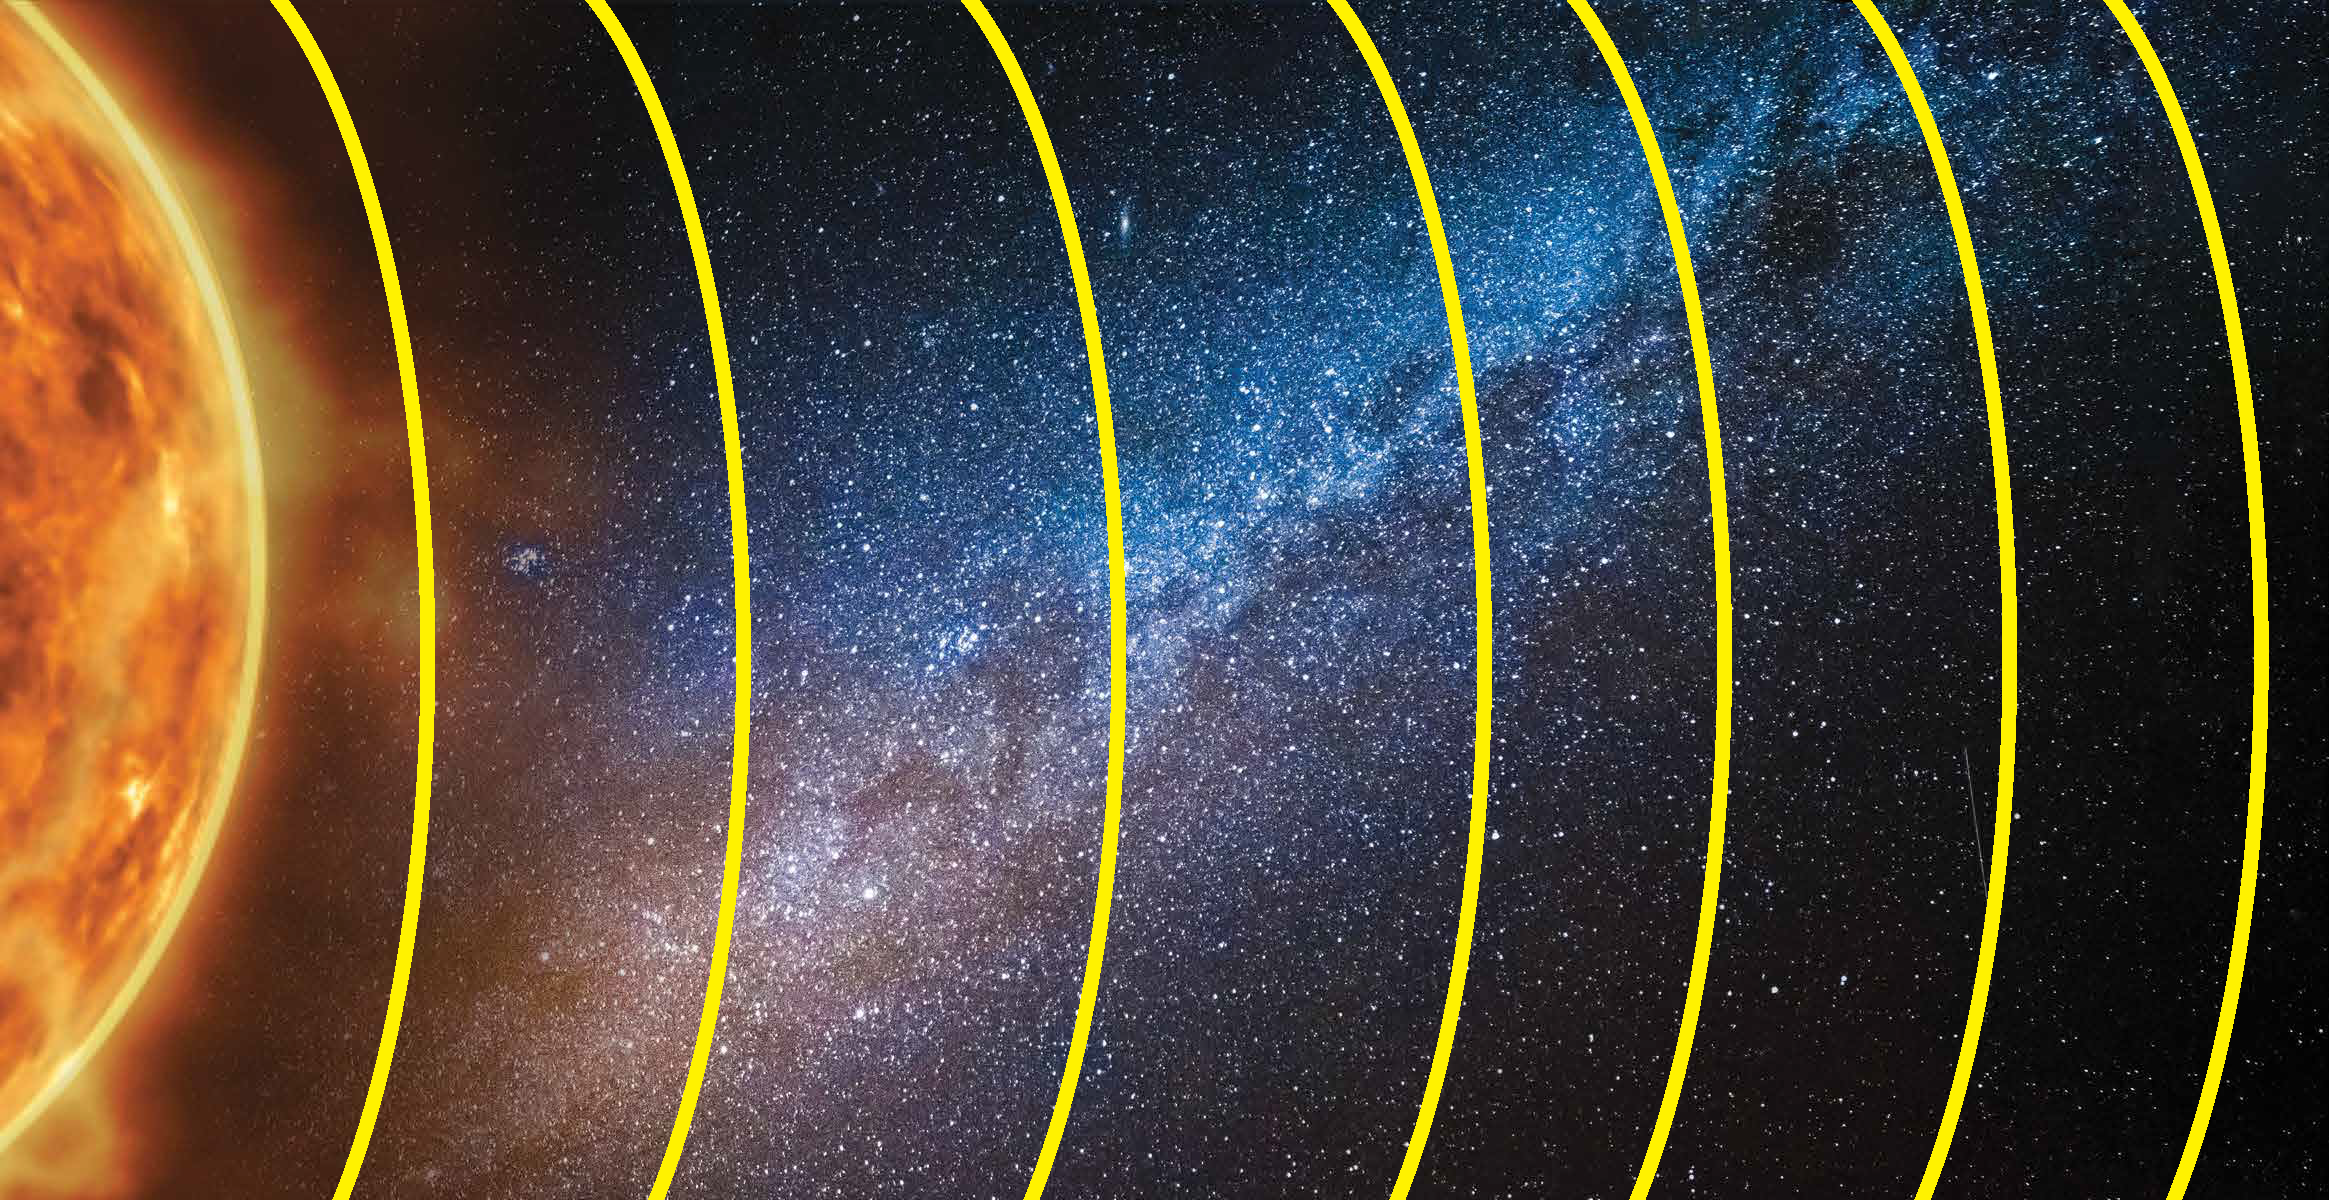
Not included with the exhibit is the back wall graphic, as it is intended that this is painted to a wall, or applied as a vinyl. An example image is shown to the right. Should you wish to use this image - please contact Warren Elsmore and we can supply a high resolution version of the background - or an Illustrator file including the arcs. Please note though, that this image is around 200Mb as a PNG file - and larger as a PSB!
Planet Mounting
Each planet should be mounted to the wall, using the brackets provided. This varies per planet according to size.
Smaller planets have a LEGO part that should be screwed to the wall (this will be supplied fixed to the back of the planet). In addition to this, the tether wire should be screwed to the wall as well.
Larger planets hang on the wall with the brackets provided. Again, the tether wire should be screwed to the wall for safety.
Saturn’s rings should first have the small bolt removed. Now, the rings (placed together with the vinyl on the INSIDE) can be inserted into the slot. The bolt should be replaced on the inside, which will hold the rings in place.