Packing Instructions - Brick History plinths (small)
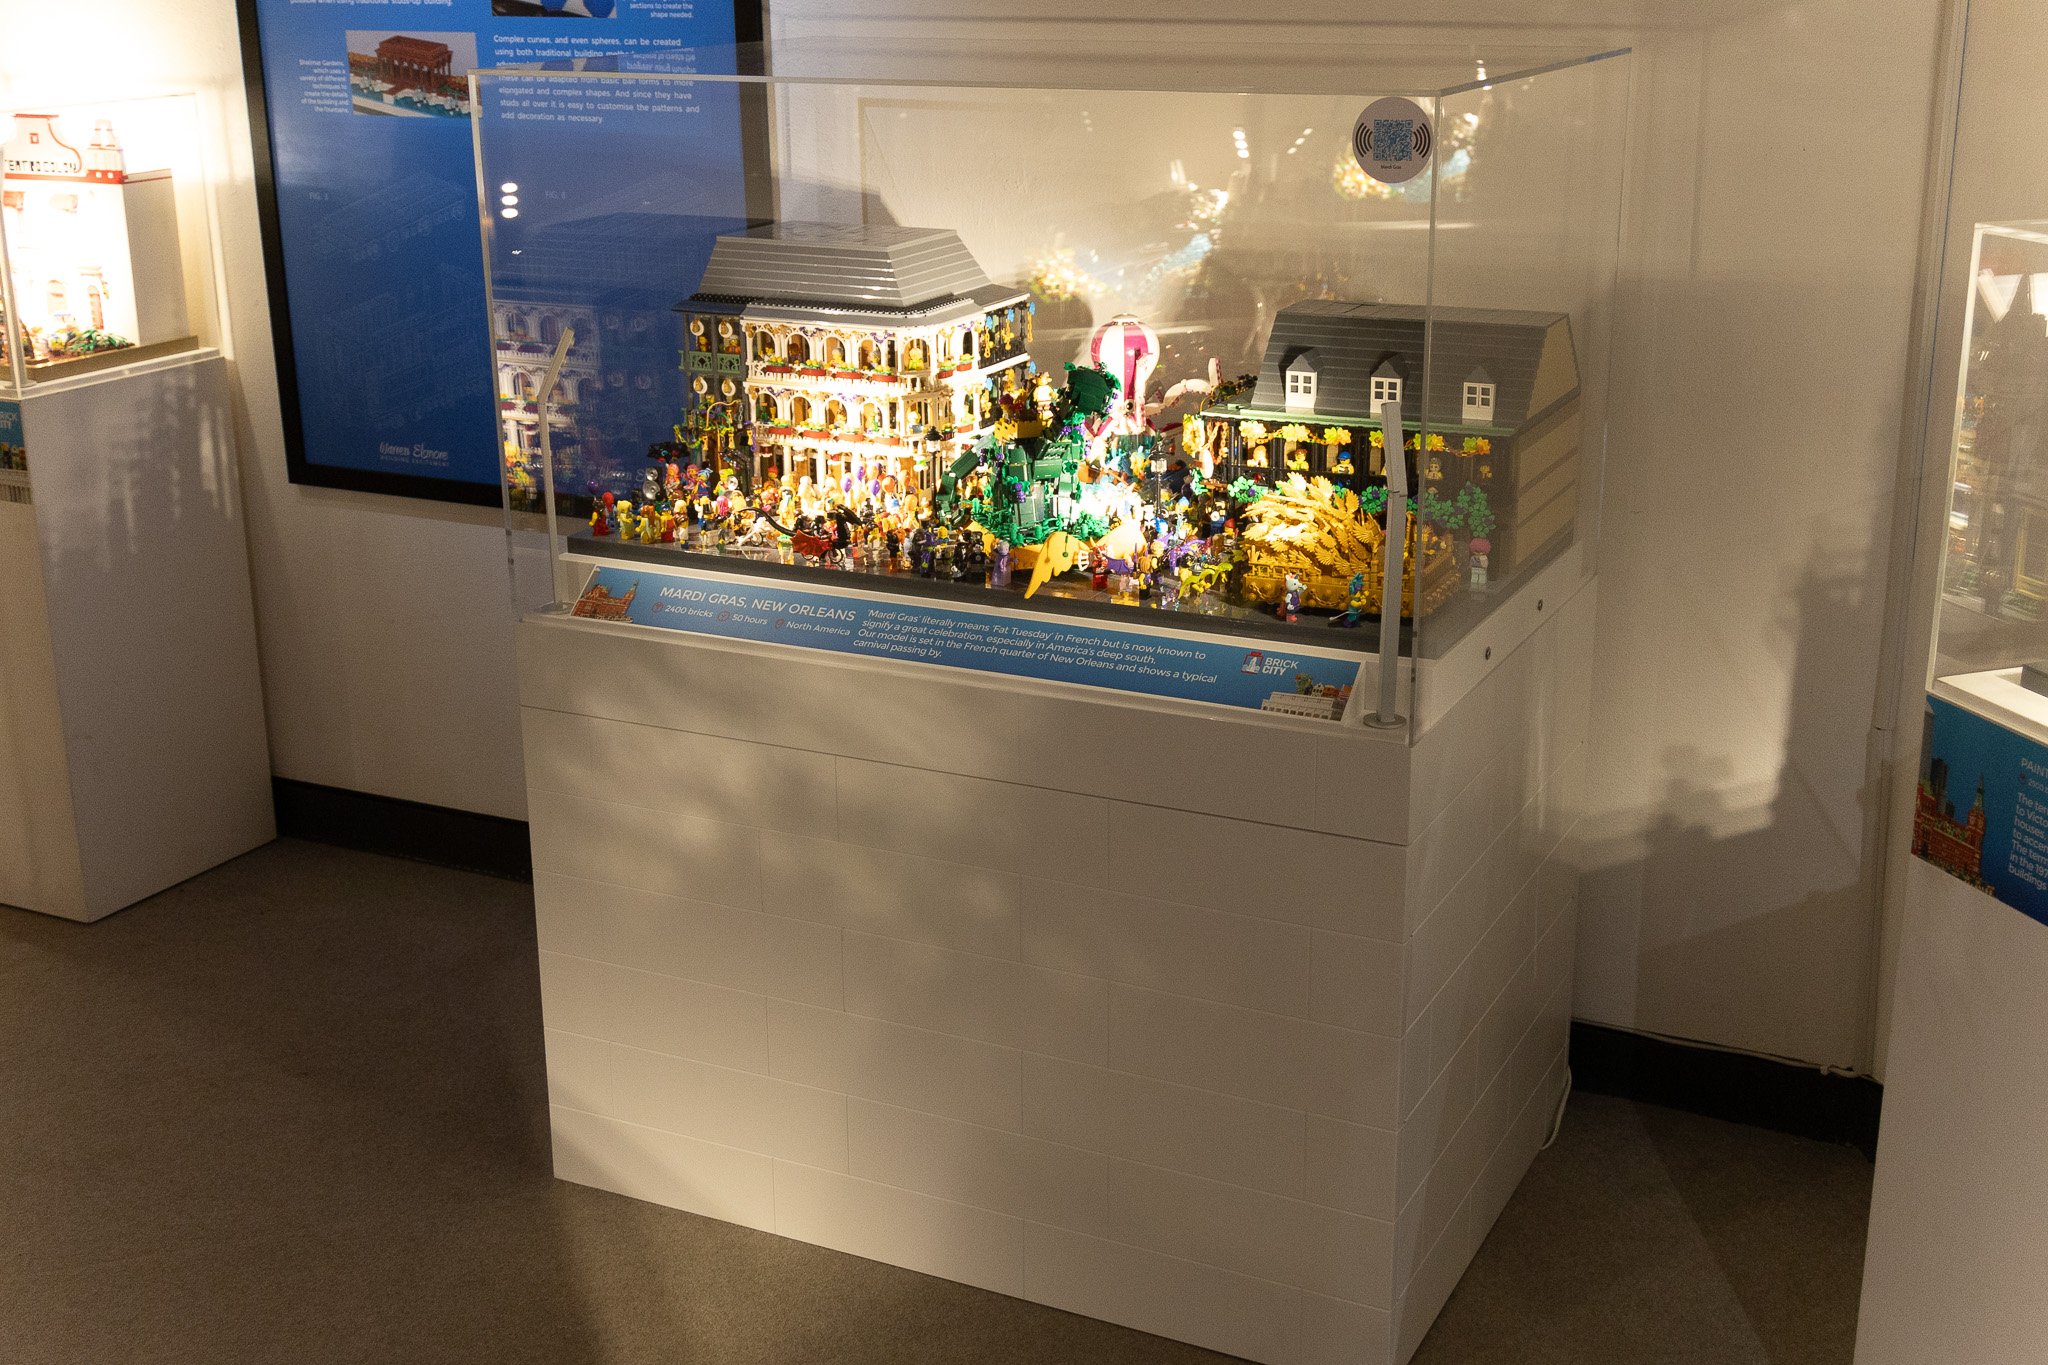
‘Pallet Box’ tour in situ
A number of our tours use plinths which pack into a pallet box. These are the instructions to pack / unpack these.
READ all the instructions before unpacking.
The plinth should arrive fully packed. The components of these plinths include;
Flightcase (12);
1 flightcase
1 lid
2 plinths (in parts)
4 wooden packers
4 foam sheets
Handling
ALWAYS move loaded flightcases with 2 people. They have a high centre of gravity and tipping them over will case significant damage
Tools Required
None
2 Plinths in flightcase
Assembly
Be aware that the sides have a tendancy to fall away when there is no weight on them. When assembled – they lock together, but without the top they can be wobbly.
First up, it’s a 2 person job. Don’t attempt it on your own, you can’t.
Move the relevant flightcase in front of the plinth, with the door off. Leave over a plinths width between the case and where the plinth will be going.
Between the two of you, lift the bottom half of the plinth (base and walls) from the flightcase into position. Always unload the TOP half first.
Remove all the walls from the base and put to one side. Put packaging back into the flightcase
Screw feet into base
Arrange any cabling required at this point. Once completed, you cannot access the inside of the plinth. Joiners, etc will sit inside the plinth happily once completed.
Place the 4 walls around the edges of the base. These go either way up, but will abut with each other on the corners to hold them in place. Try not to knock them, as at this point they can easily come apart.
Slide the top unit slightly out of the flightcase between two people.
Reach under the top to extract the cable and plug it in, inside the walls
Slide the top part completely out of the flightcase and onto the 4 walls. This will drop into place and secure the whole plinth.
Once in place, the plinths can be gently slid a small distance on their feet (to adjust if necessary)
Dissasembly
Be aware that the sides have a tendancy to fall away when there is no weight on them. When assembled – they lock together, but without the top they can be wobbly.
First up, it’s a 2 person job. Don’t attempt it on your own, you can’t.
Move the relevant flightcase in front of the plinth, with the door off. Leave over a plinths width.
Between the two of you, lift the top half of the plinth (wood, model&Perspex) directly up and rotate 15degrees. Now you can put it back down to get a better hold.
Reach inside and disconnect the cabling. Lay the cable connected to the plinth outside the base.
Lift the top part into the flightcase, always load the bottom half first.
Tuck the cable underneath the top half
Remove the 4 walls and put to one side.
Unscrew the feet from the base and put to one side.
Load the base with the walls. These go
Short side (finished side up)
Place the 2 wooden packers to the sides of the short side
Small packaging foam sheet
Short side (finished side down)
Long side (finished side up)
Large packaging foam sheet
Long side (finished side down)
Load the base into the slot in the flightcase

